In this tutorial, we will learn how to read/write images in Julia and also display them in a window using ImageView.jl. For these tasks, we will be utilizing FileIO.jl, ImageView.jl which can be installed through Julia REPL using:
julia> ] add FileIO, ImageView

julia> using FileIO
FileIO aims to provide a common framework for detecting file formats and dispatching to appropriate readers/writers. The two core functions in FileIO are load and save so let’s load am image first.
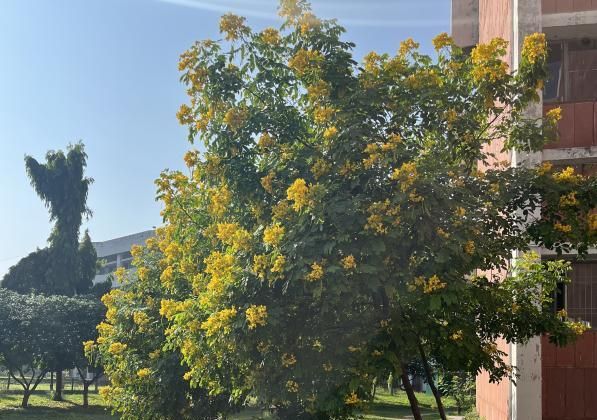
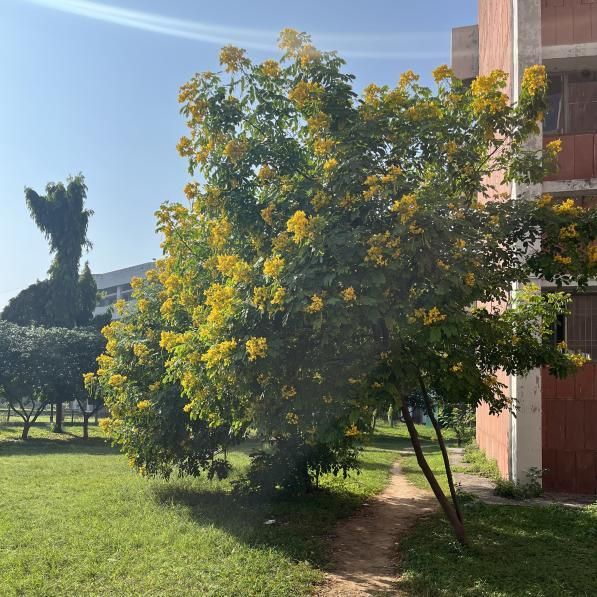
We will be loading the below shown image:
julia> # we can load/read using load function and specify the file name
julia> img = load("input.jpg")
[ Info: Precompiling JpegTurbo [b835a17e-a41a-41e7-81f0-2f016b05efe0]
597×597 Array{RGB{N0f8},2} with eltype ColorTypes.RGB{FixedPointNumbers.N0f8}:
 RGB{N0f8}(0.718,0.855,0.973)  …  RGB{N0f8}(0.475,0.361,0.337)
 RGB{N0f8}(0.718,0.855,0.973)     RGB{N0f8}(0.478,0.365,0.341)
 RGB{N0f8}(0.718,0.855,0.973)     RGB{N0f8}(0.412,0.298,0.275)
 RGB{N0f8}(0.714,0.851,0.969)     RGB{N0f8}(0.439,0.325,0.302)
 RGB{N0f8}(0.714,0.851,0.969)     RGB{N0f8}(0.486,0.373,0.349)
 RGB{N0f8}(0.71,0.847,0.965)   …  RGB{N0f8}(0.475,0.361,0.337)
 ⋮                             ⋱
 RGB{N0f8}(0.58,0.616,0.267)      RGB{N0f8}(0.137,0.165,0.094)
 RGB{N0f8}(0.506,0.533,0.22)      RGB{N0f8}(0.149,0.184,0.102)
 RGB{N0f8}(0.518,0.545,0.243)     RGB{N0f8}(0.141,0.18,0.086)
 RGB{N0f8}(0.612,0.639,0.337)     RGB{N0f8}(0.145,0.184,0.09)
 RGB{N0f8}(0.675,0.698,0.408)  …  RGB{N0f8}(0.165,0.204,0.11)
 RGB{N0f8}(0.627,0.651,0.369)     RGB{N0f8}(0.188,0.227,0.133)
FileIO is providing a common interface to read all types of files so what happens below the hood here is that after noticing that the file format is jpeg/jpg, FileIO calls to ImageIO.jl or ImageMagick.jl which provide methods to read images(multiple formats). In this case, read and write support is provided by ImageIO.jl which in turn calls JpegTurbo.jl which specifically provides support for jpeg/jpg.
Details on various file formats supported by FileIO.jl can be found here:
https://juliaio.github.io/FileIO.jl/stable/registry/
Now, we want to display this image. We can do this using ImageView.jl
julia> using ImageView

julia> imshow(img)
Dict{String, Any} with 4 entries:
  "gui"         => Dict{String, Any}("window"=>GtkWindowLeaf(name="",…
  "roi"         => Dict{String, Any}("redraw"=>Observables.ObserverFu…
  "annotations" => Observable(Dict{UInt64, Any}())
  "clim"        => Observable(CLim{RGB{Float64}}(RGB{Float64}(0.0,0.0…
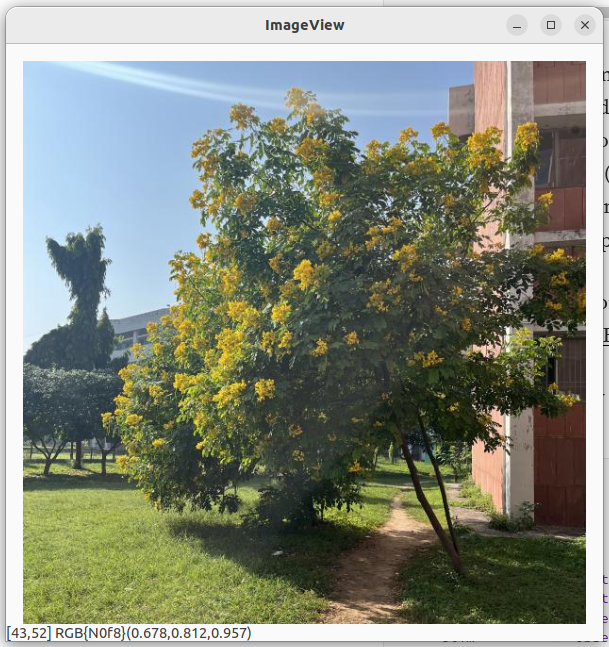
which shows the image in a window like this:
Good support for 3D and 4D images is also provided through ImageView.jl and it also provides methods to create annotations on the image. Check out more details on ImageView.jl here:
https://github.com/JuliaImages/ImageView.jl
We can work on our images after loading using Images.jl which acts as an umbrella package for various packages in JuliaImages that provide support for ImageProcessing. Documentation of Images.jl can be found here:
https://github.com/JuliaImages/Images.jl
After processing, we can save our images as shown below using save function as shown below:
julia> save("output.png", img)
What happens here below the hood here is FileIO.save identifies the format of file that we want to save img to. The file format we want to use for write/decode purpose is apng file. Then FileIO calls ImageIO which in turn calls PNGfiles which encodes data stored in variable img using libpng. PNGFiles is a Julia wrapper over libpng which provides interface to access libpng. More details on Image Processing can be found here:


Top comments (1)
After showing an image, what if you want to stop showing that image? Can you turn off the image shown?